Add the new client-side hillshade layer
By: Molly Lloyd
With our new hillshade layer type, you can create a more detailed, realistic model of terrain (aka shaded relief map), representing a 3D view of hills, valleys, and mountains across a 2D surface. The rendering happens on the client, so every aspect of the visualization can be customized.
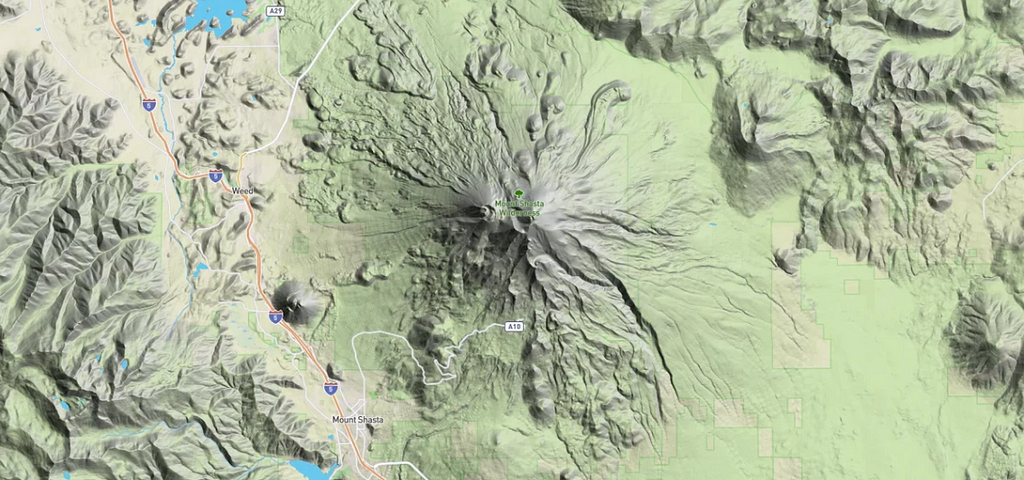
For example, more accurately simulate how the sun moves across terrain in the real world:
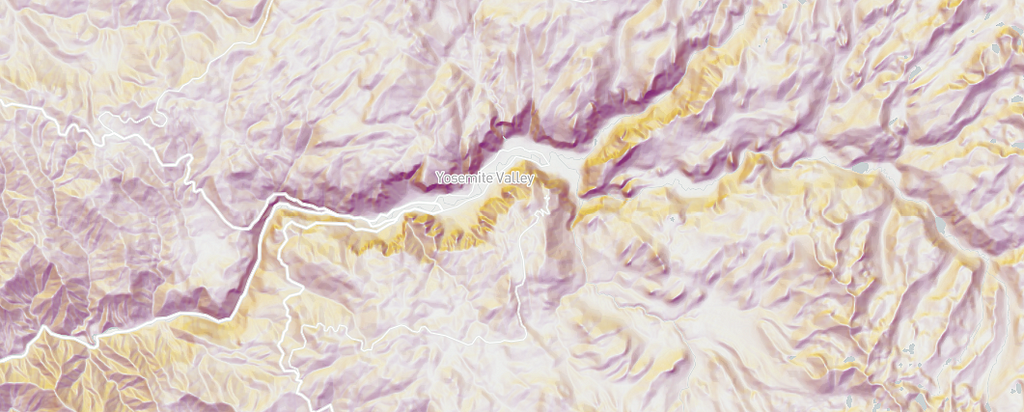
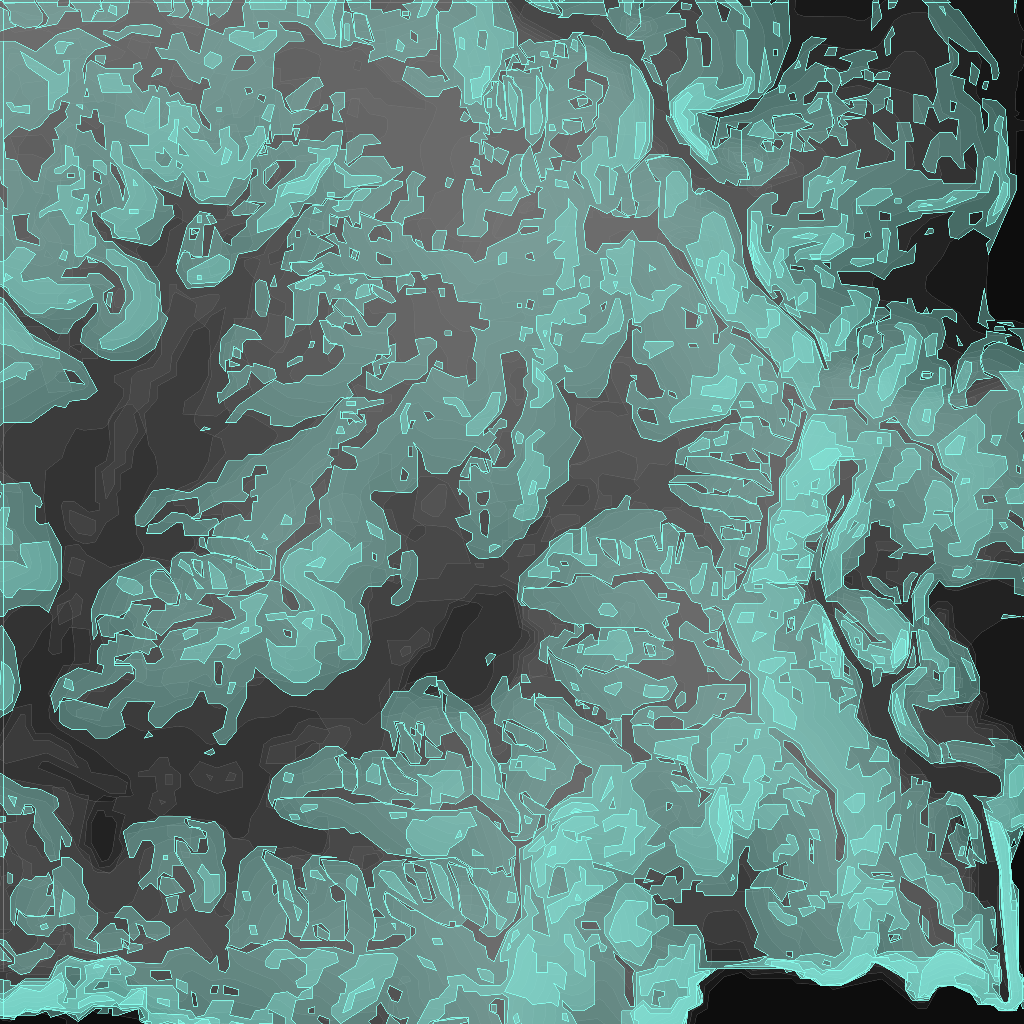
Or get real creative with different shading techniques and lighting effects. Properties like hillshade-exaggeration, hillshade-shadow-color, hillshade-highlight-color, hillshade-accent-color, and more can be customized at runtime.
How it works
Our hillshade layer type uses a raster digital elevation model (DEM) — high-resolution elevation data encoded into raster image tiles — to calculate the precise shadow or highlight for every individual pixel on the map. Because we calculate the slope and shadow pixel-by-pixel on the user’s computer, the resulting hillshading is much more detailed than the shading that is possible with a vector-terrain tileset. It’s the difference between styling individual pixels vs. broader, less detailed polygons.

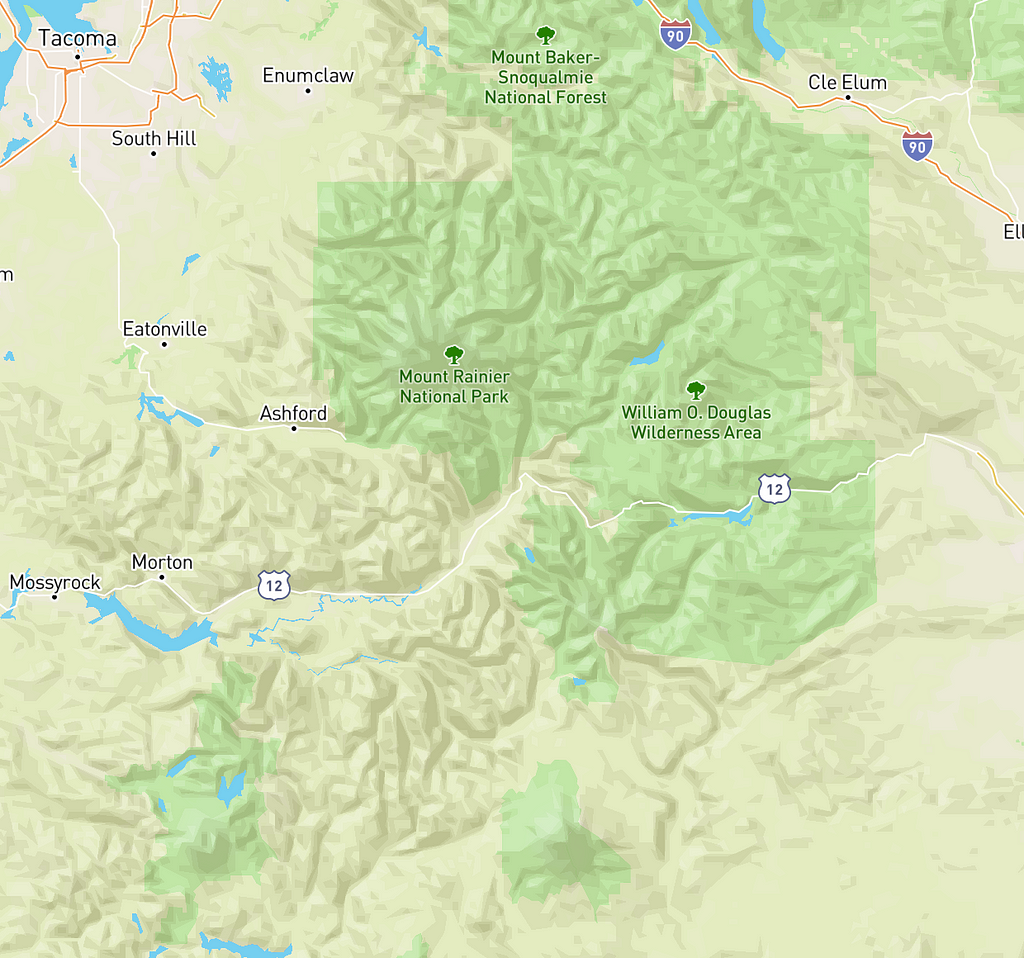
You can see the difference side-by-side below. The current Mapbox Outdoors style (image left) uses the vector-terrain tileset’s hillshade layer to color polygons based on whether they represent a shaded or highlighted area. The new client-side hillshading layer (image right) references a raster DEM source that encodes elevation into the red, green, and blue color channels of each pixel in the tile. The result is terrain with more definition and detail.
Add the new client-side hillshade layer to your project using mapbox-gl-js v0.43.0 or later; we just released v0.44.0. To get started, create an account and follow this tutorial. You can report bugs or contribute to feature development in our public, open-source repo.
Realistic terrain with custom styling was originally published in Points of interest on Medium, where people are continuing the conversation by highlighting and responding to this story.