Our Maps SDK for Android includes several ways to add a marker to the map, and one of the most useful is with the SymbolLayer API. This approach is ideal for situations where the app requires more flexibility around the marker’s setup while remaining performant, like adding full z-index support for example. Full z-index support is part of the map Runtime Styling API, which allows full separation of data from its visual representation.
To show the benefits of runtime styling, we put together this 7-step guide for managing and interacting with data that’s being displayed via the SymbolLayer API.
- Add data to the map
The first step is organizing your data as a GeoJSON object. For this you can either start with a JSON file or create a FeatureCollection programmatically (the Maps SDK has native support for GeoJSON objects). Because we want to add a Marker to the map, the underlying GeoJSON feature should be of the type Point.
Here is an example of a GeoJSON object we will use. It contains a bunch of other properties that we’ll cover later on.
When we have data ready, we can add it to the map:
2. Add a visual representation
Separating data from visualization in our case means having a separate Source that powers the Layer which we ultimately add to the map:
This call will add a layer to the map, but will not give us any visual representation of data yet. To have our points represented by images, we need to use layer properties to attach an image:
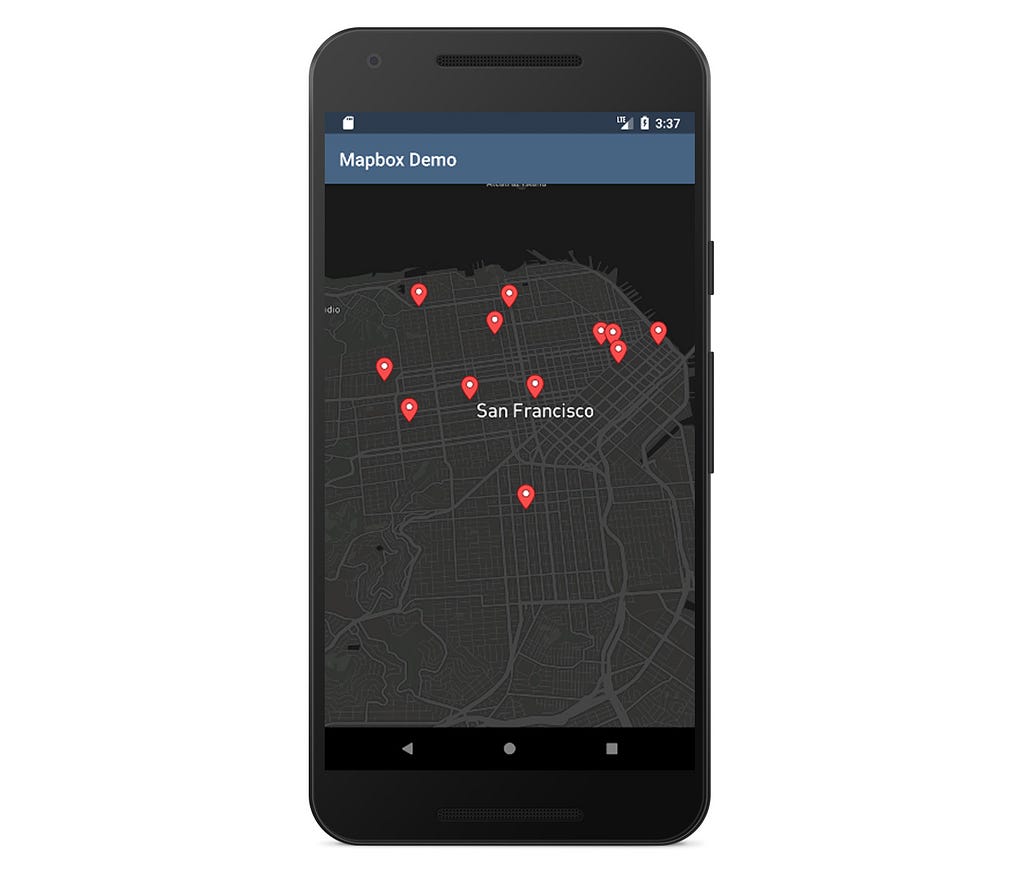
Now all the points in our data file will be represented by this icon. However, what if we want to have different icons for different points?
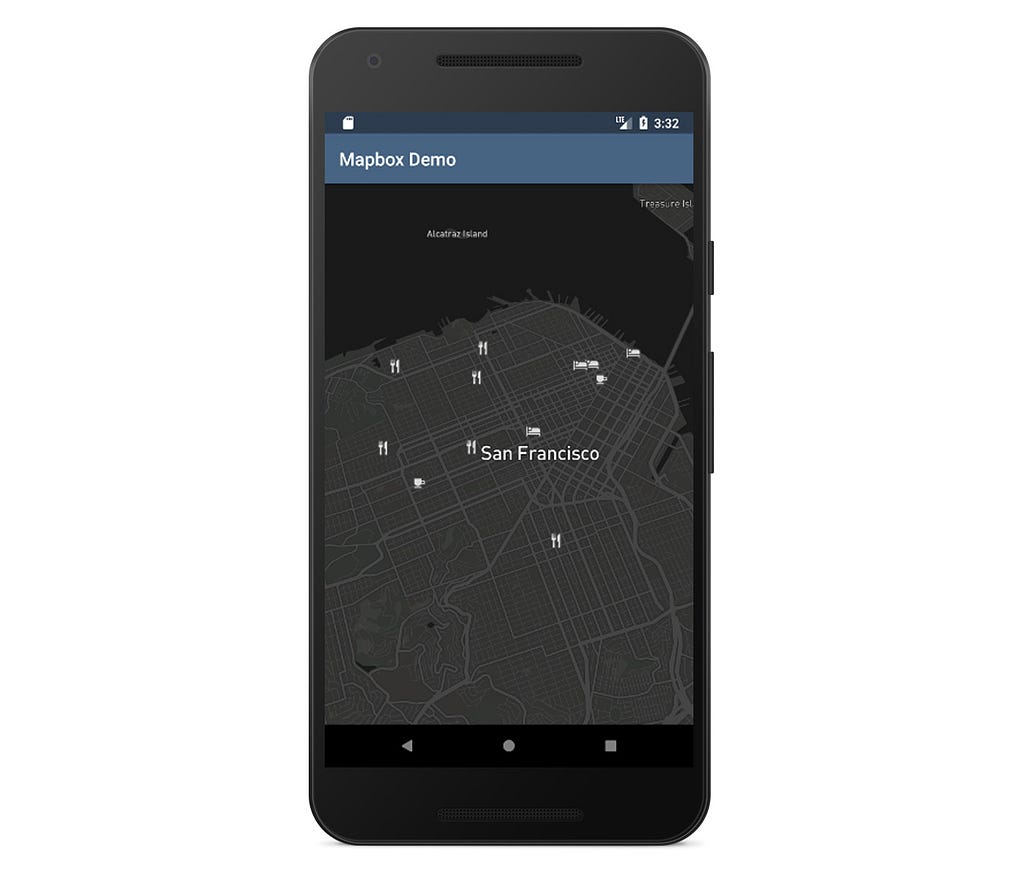
3. Set different icon images for different points
Fortunately, we don’t have to create a separate layer for each image.
What we are doing here is using a tokenized poi property from our GeoJSON data file. This means that for every entry in our collection array we will extract poi property and search for an icon named like this property (adding its expected size, 15 in this case). For example: restaurant-15 is an icon pre-shipped with everyone of our map styles (more information here).
4. Handle click events
Now that we have our data nicely laid out on the map, we can interact with it.
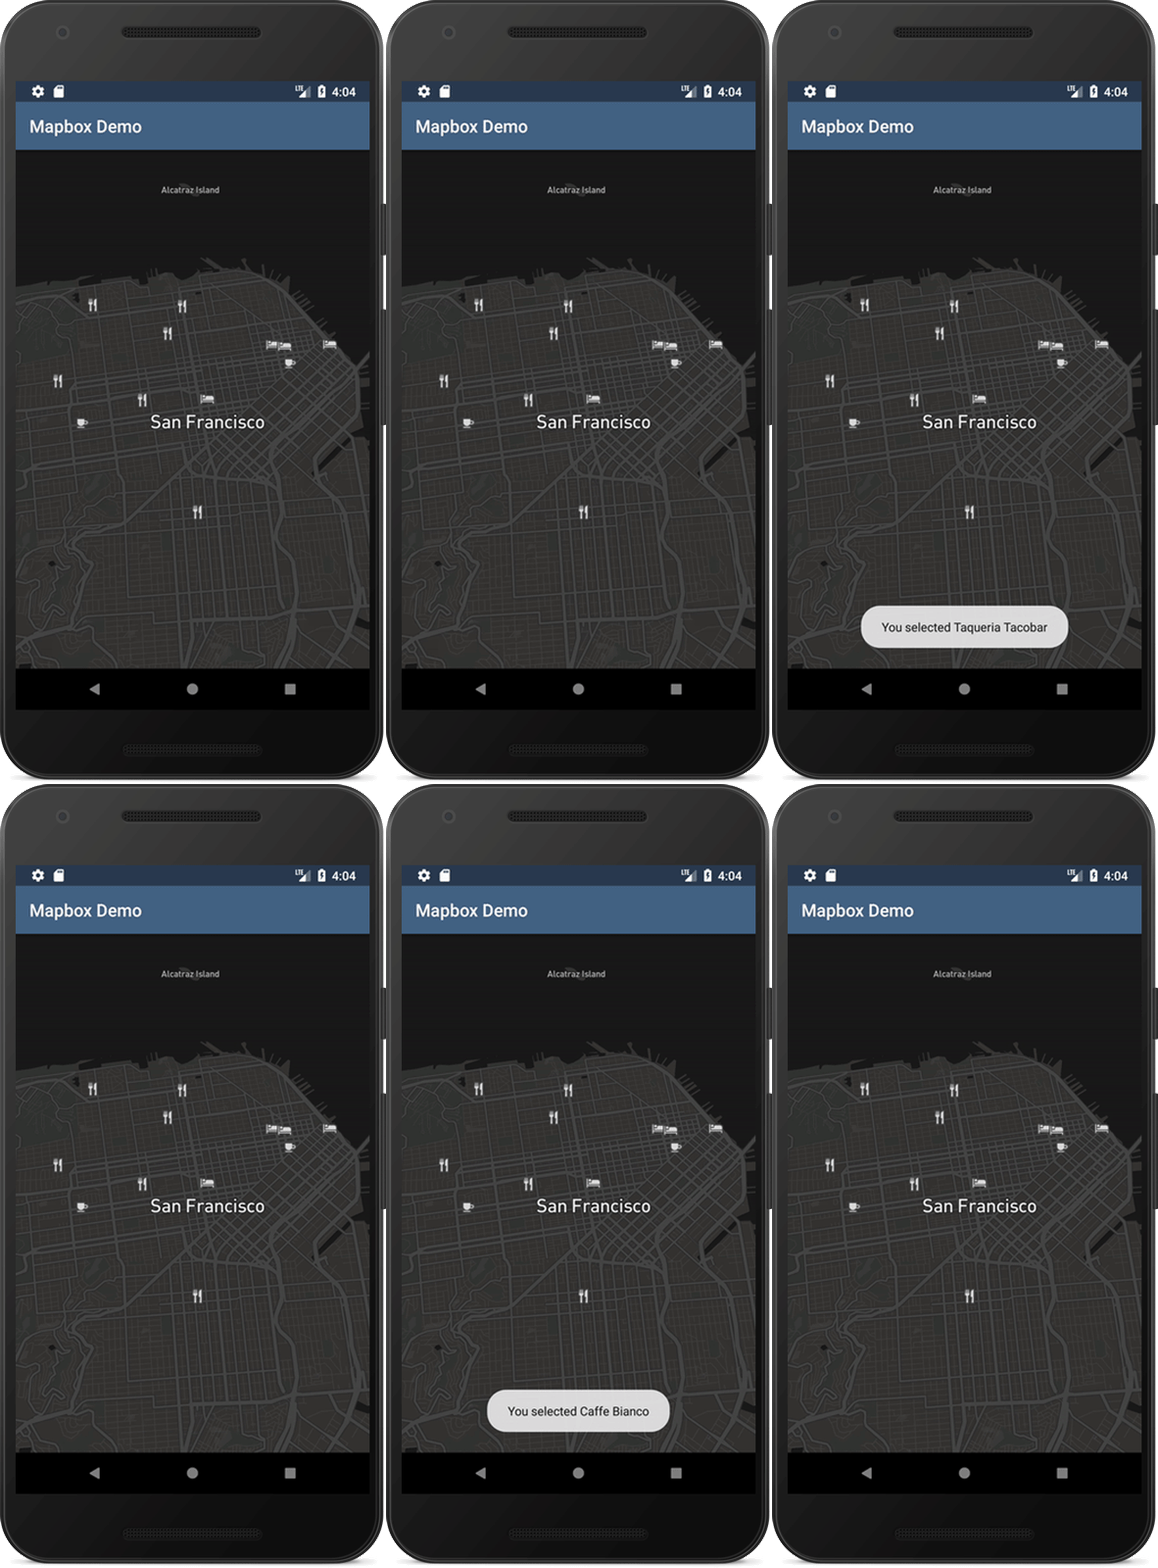
To capture when one of our symbols is clicked, we need to implement the standard OnMapClickListener interface using MapboxMap#setOnMapClickListener. Once we receive a callback, we can start querying the map for the features we have defined in the source. This can be done by using MapboxMap#queryRenderedFeaturesAt(PointF screenPoint, String layerID):
For example:
This method returns features sorted by their z-index, and in this example we are selecting the top one.
5. Update data
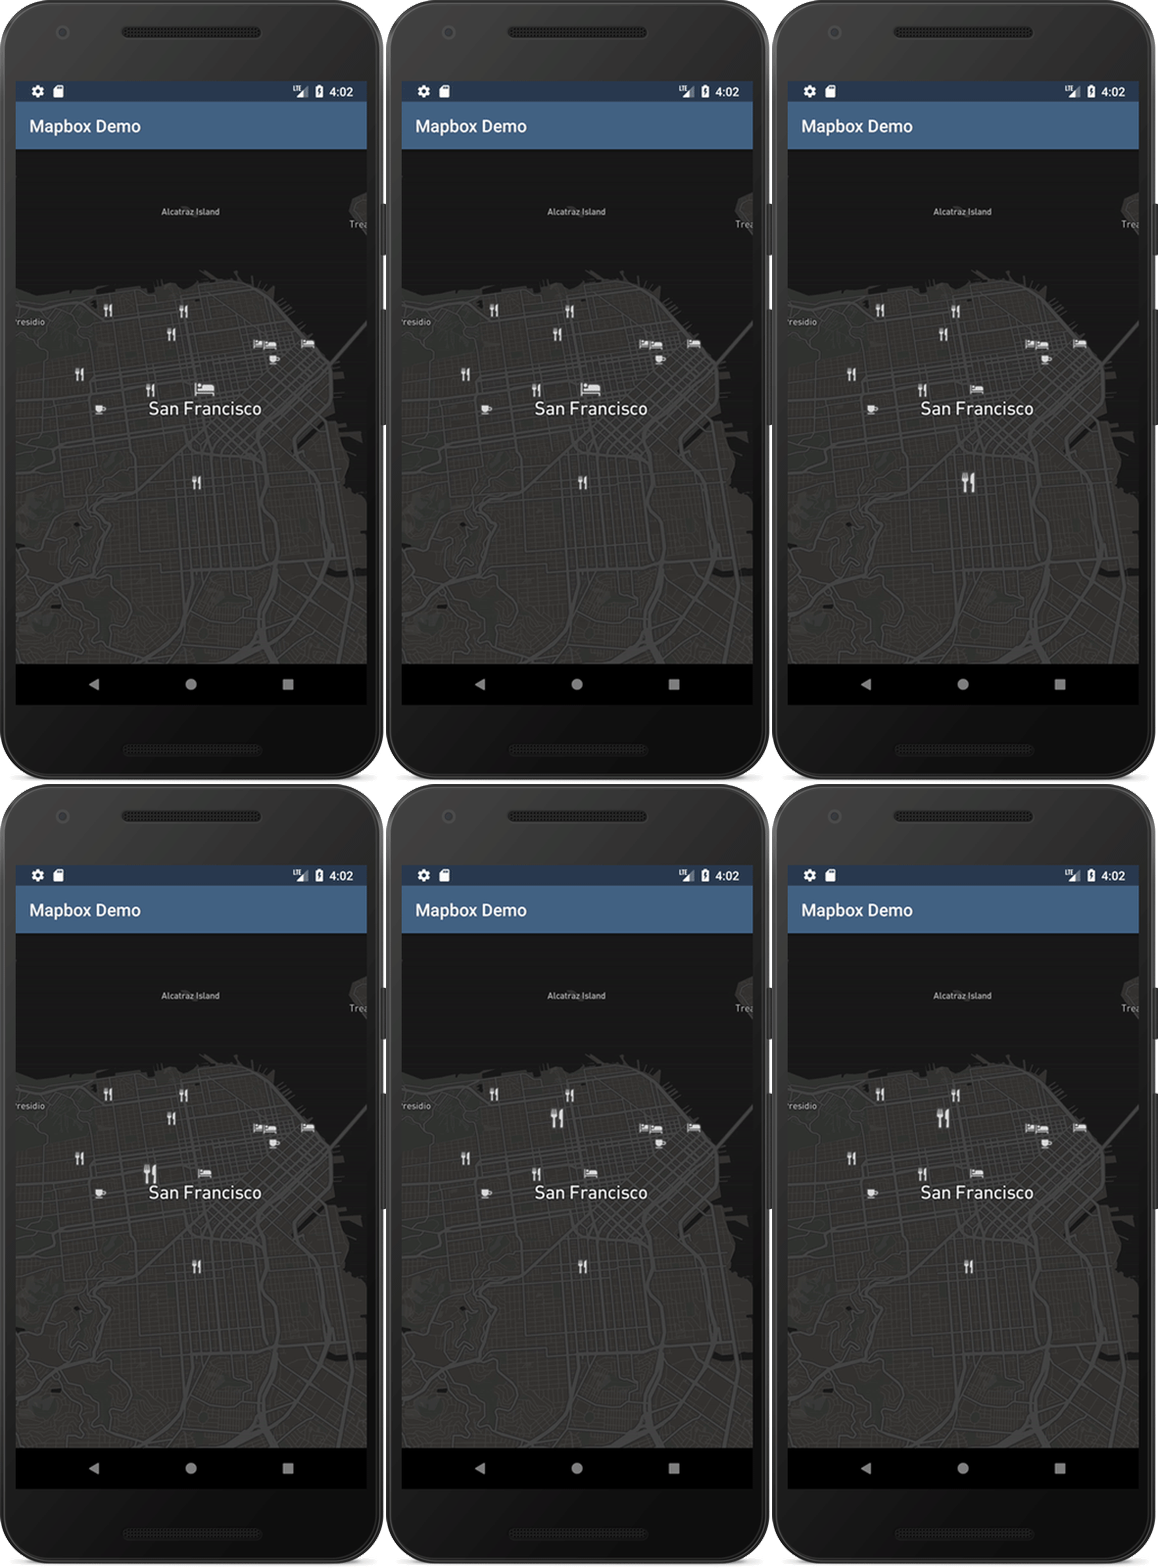
A common feature with a Marker API is the ability to change markers to a selected state. To do this, we need to first adapt our data to take the state into account. We are going to scale the selected icon image so that it’s visually different from the other items.
We start by searching for the selected feature in our previously loaded GeoJSON dataset (stored in a FeatureCollection object) and updating its property:
Then we let the map know the property has changed by resetting the source of our layer:
source.setGeoJson(featureCollection);
Now we need to modify our layer to respect the selected property of our dataset. We can achieve this by adding the iconSize property, which can either take a fixed ratio to scale the image or a function. In the example below, we will use the property function to scale our icons by 1.5f (when selected) and by 1.0f (when unselected) based on two categorical stops:
To deselect all symbols we need to update the FeatureCollection object again:
and reset the source.
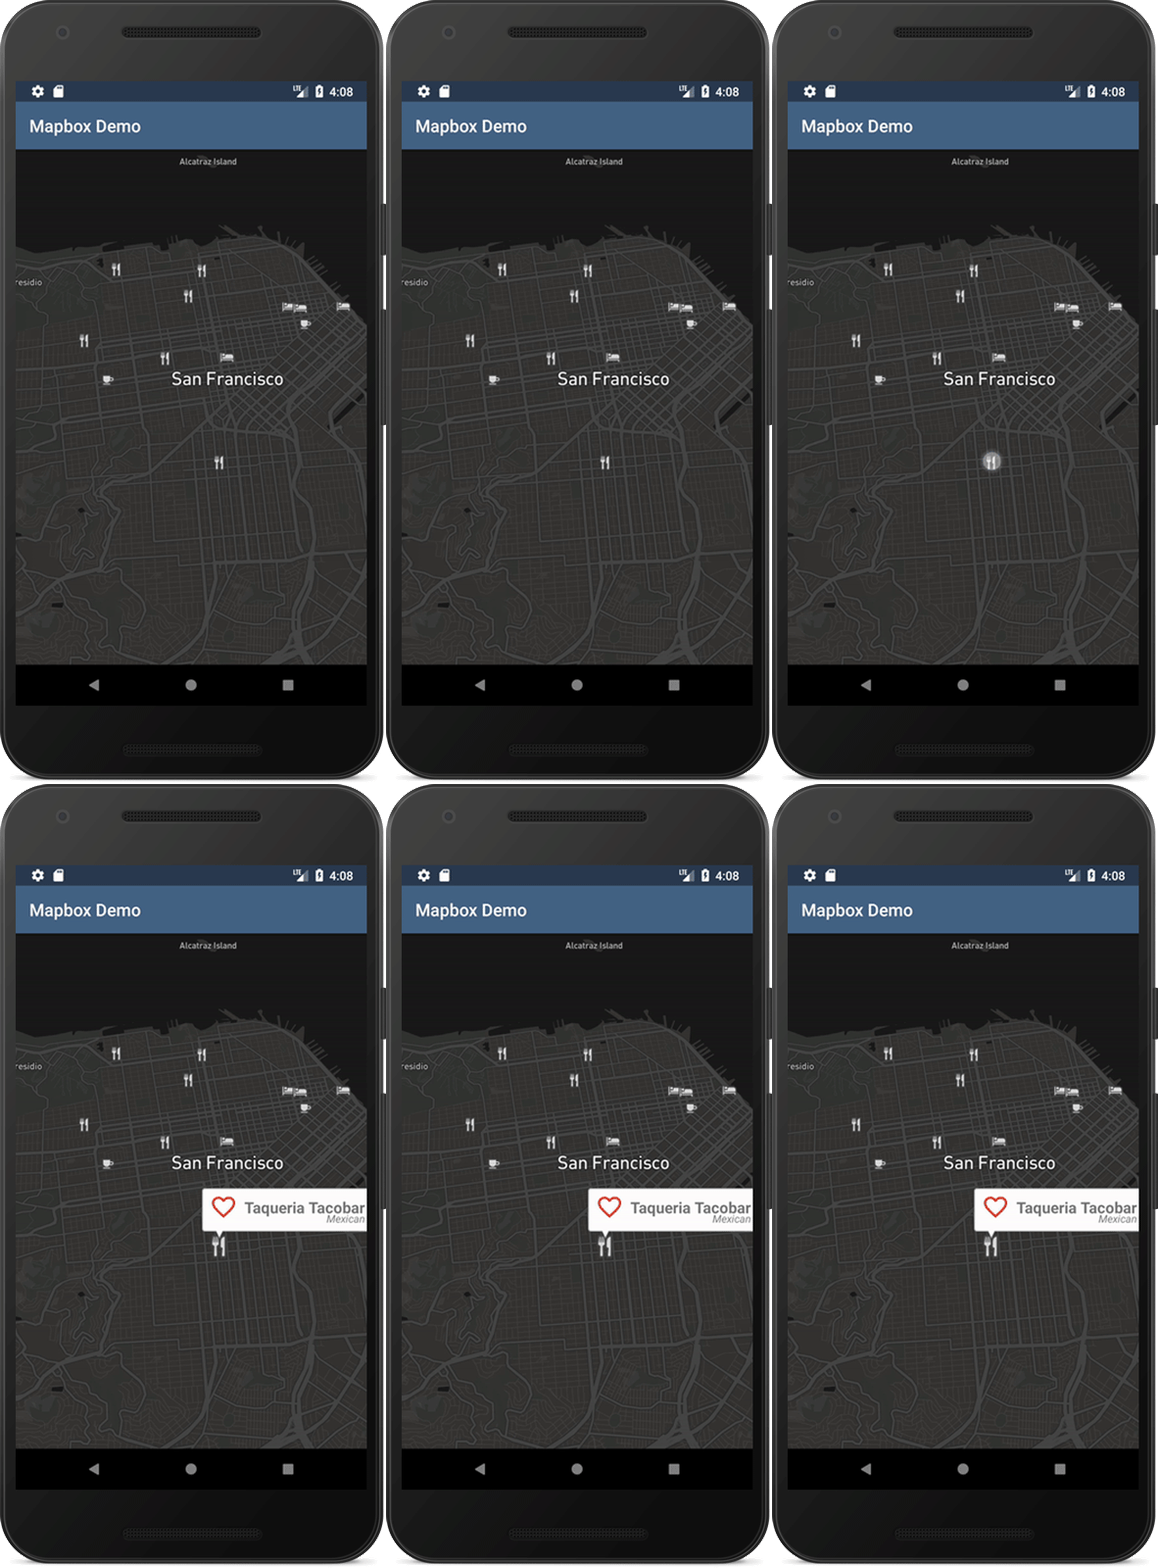
6. Create a callout window using an Android SDK View
Another common request for annotations is adding an InfoWindow. The solution described below is using a separate SymbolLayer backed up by our original source.
First of all, we need to create the layout that we want to show after a symbol click. The one we used can be found here.
After that, we should inflate it and set up its views based on our data. We’ll generate a Bitmap that we’ll be able to add to the map:
The bitmap itself is generated with the SymbolGenerator that you can see in our full example.
Views prepared this way can be added to the map:
// calling addImages is faster than separate addImage calls for each bitmap.
mapboxMap.addImages(imagesMap);
We are finally ready to create a new Layer, based on our original data, that will host InfoWindows:
As you can see, we are using tokens again to match previously generated bitmaps that were added to the map with the title key. Also, note that we are using withFilter, that will show our new InfoWindow only for selected features.
7. Handle view clicks inside the callout window
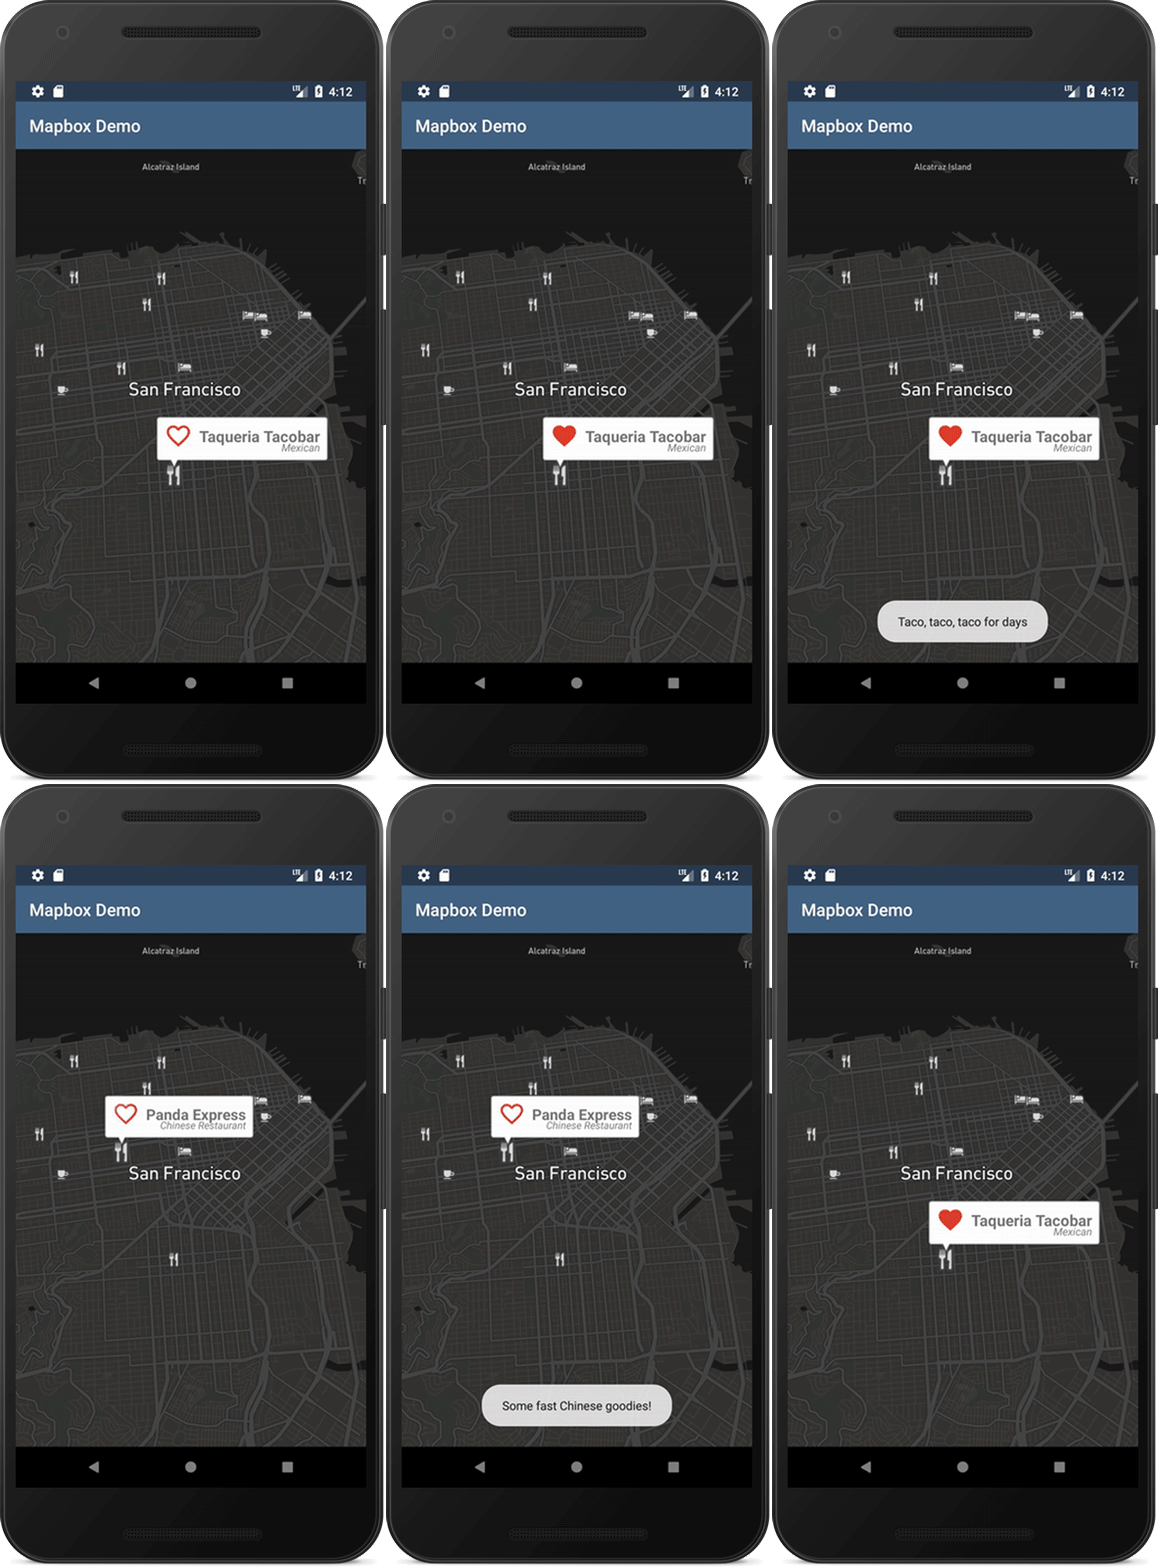
Finally, we can also handle click events inside an InfoWindow. This can have the same or different behaviour from the regular Marker click we implemented above. To do this, we keep the reference to our inflated Views in a HashMap with keys being the title properties of our callout symbols.
We can now use that information to handle clicks on each child view of the callout layout:
In this example, when we click on InfoWindow’s text we show a Toast, otherwise we toggle the favourite icon:
8. Next steps
For a full example of the code, head to our repository and checkout the example Activity (you can also download the app here and navigate to the Labs section). Explore our tutorials on the help page, and ask us any questions on Twitter, Mapbox.
A guide to the Android SymbolLayer API was originally published in Points of interest on Medium, where people are continuing the conversation by highlighting and responding to this story.